
Overview
Do you ever feel uncertain about what your students are seeing on their screens? BE NOT UNSURE! In this article you'll learn how to:
- Edit the Student View
- Preview the Student View
- Try it out before class
- See the Student View during a presentation Session
Edit the Student View
When you present a Pear Deck, students see the following:
- The main body of the slide in its entirety.
- The interactive response, if you added one.
- Open Google Slides or PowerPoint Online. Use the editing tools to add a question, prompt, graph, image, etc. to the main body of the slide. Students will see everything you put on it. Please note that slide animations and videos will only work if you install the Power-up extension.*
- To make a custom interactive slide, open the Pear Deck for Google Slides Add-on or the Pear Deck for PowerPoint Online Add-in menu. Go to the Ask Students a Question section and click on the type of response you want students to have (you can also add pre-made interactive slides from the Template Library). Depending on what you choose, you may be prompted to customize options, such as Draggable icons or Multiple Choice responses.
-
The interactive response type becomes visible in the Pear Deck bar at the bottom of the slide.
-
- Example of how to create a Draggable slide in Google Slides:
- Example in PowerPoint Online:
- Example of how to create a Draggable slide in Google Slides:
4. To change the response type, open the slide again. Then, go back to the Ask Students a Question and select a different question type. To change the response options on a Multiple Choice, Draggable, or Website Slide, click on the same question type again and modify the options.
.png?width=66&name=Peary_Normal%20(Forward).png) *In order to make videos, animations, and GIFs play on the main body of your slides when you present, get the Power-Up Google Chrome extension! This option is only available to Google Users at this time. However, anyone can make videos and GIFs play on the student view of a website slide with an embeddable link.
*In order to make videos, animations, and GIFs play on the main body of your slides when you present, get the Power-Up Google Chrome extension! This option is only available to Google Users at this time. However, anyone can make videos and GIFs play on the student view of a website slide with an embeddable link.
Preview the Student View
When you present a Pear Deck Session, students see all of the slides in your Deck on their screens. There is a difference in the way Non-Interactive and Interactive Slides look.
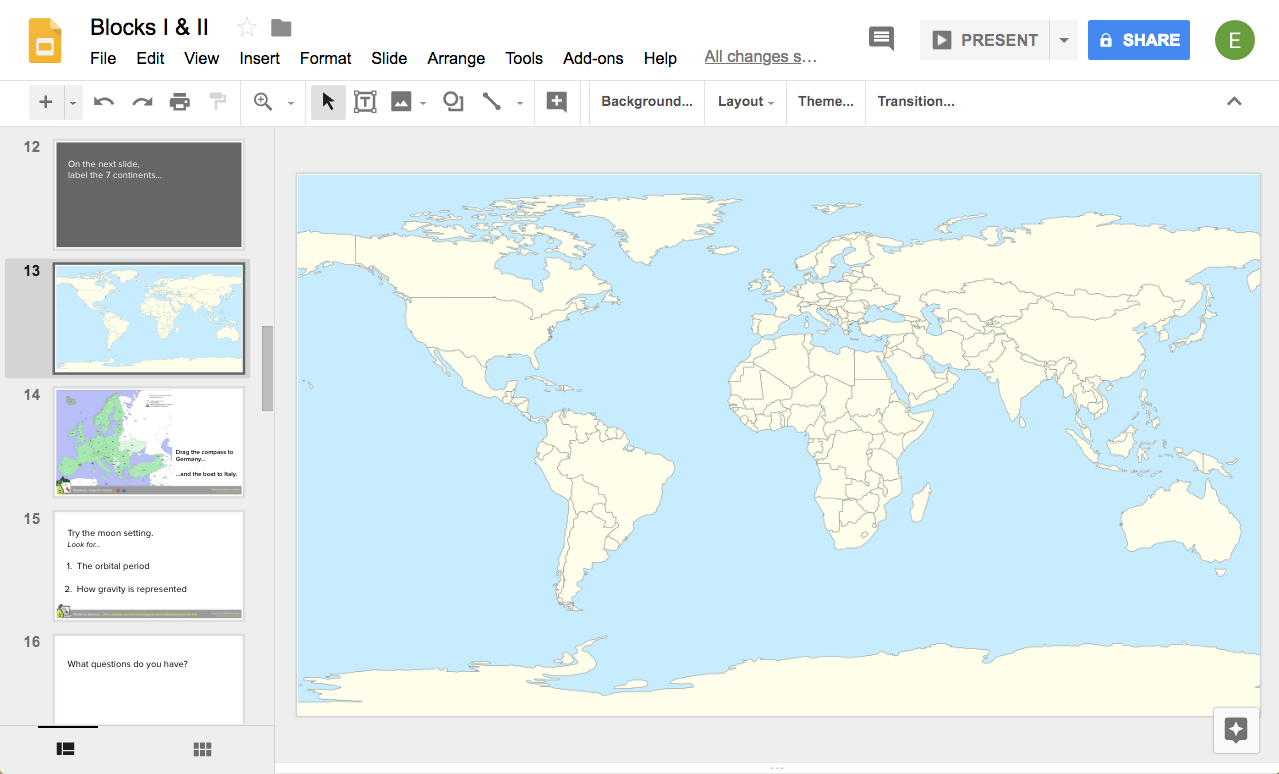
- On a Non-Interactive slide, students see the same slide that you see on the Projector View. Here's a Non-Interactive Slide created with Google Slides editing tools. When I present with Pear Deck and students join the Session, they will see the map on the Student View:
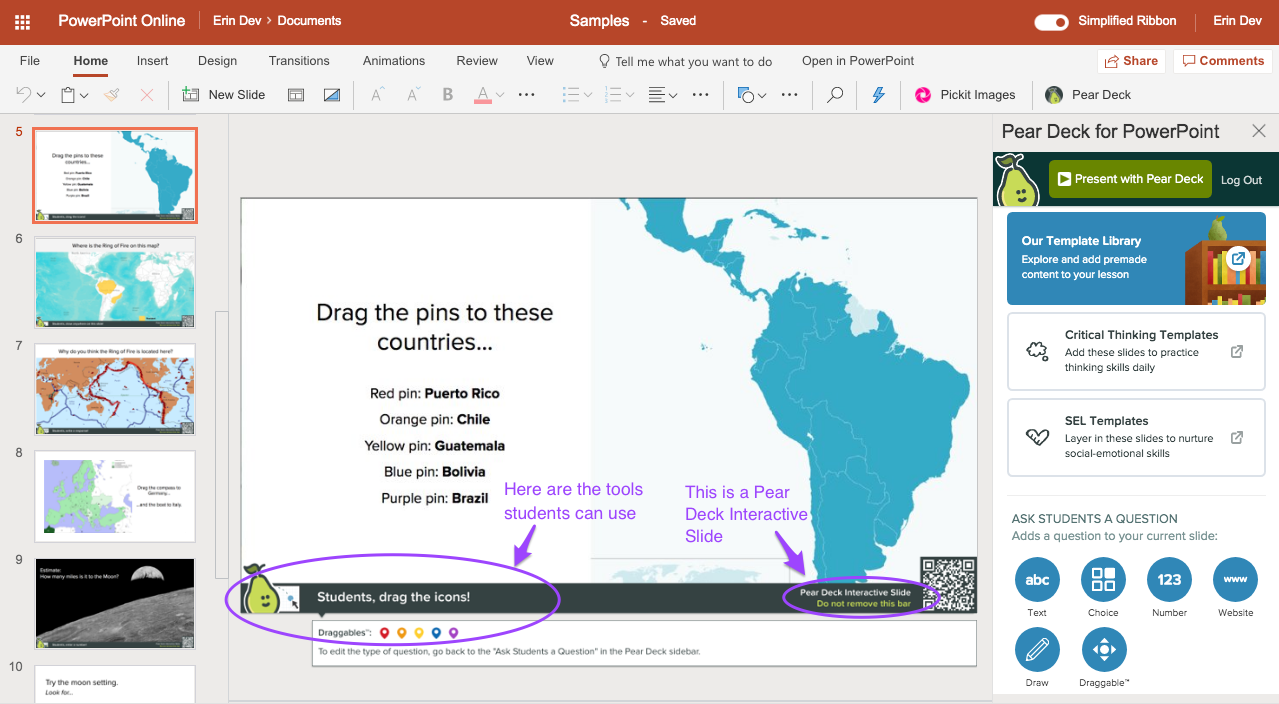
- On an Interactive Slide, students see the same slide you see on the Projector View, plus the Interactive Response you added to it. The Pear Deck bar at the bottom tells us that it's interactive and which type of response (Text, Multiple Choice, Number, Website, Drawing, or Draggable) students get to leave during the presentation. When I present with Pear Deck, students will be able join my Session and, and when we reach this slide, drag the icons over the map on their screens.
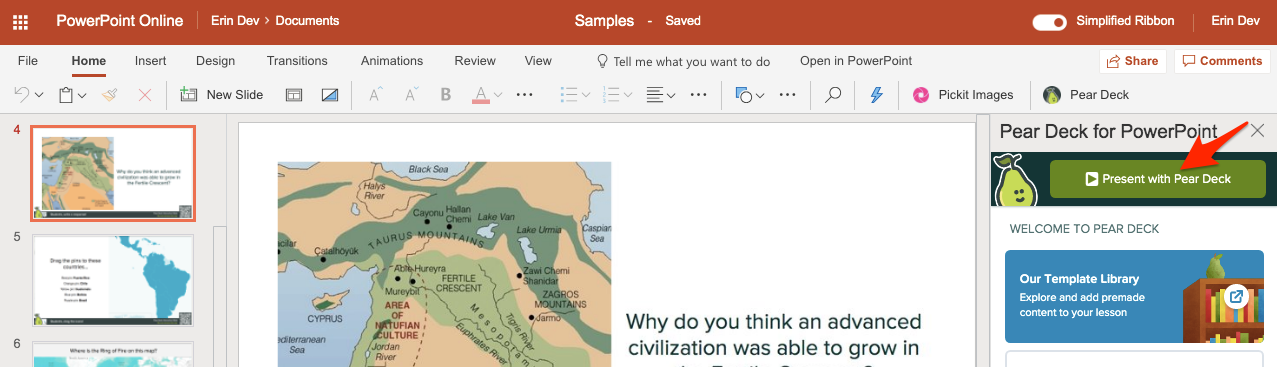
- Example in PowerPoint Online:
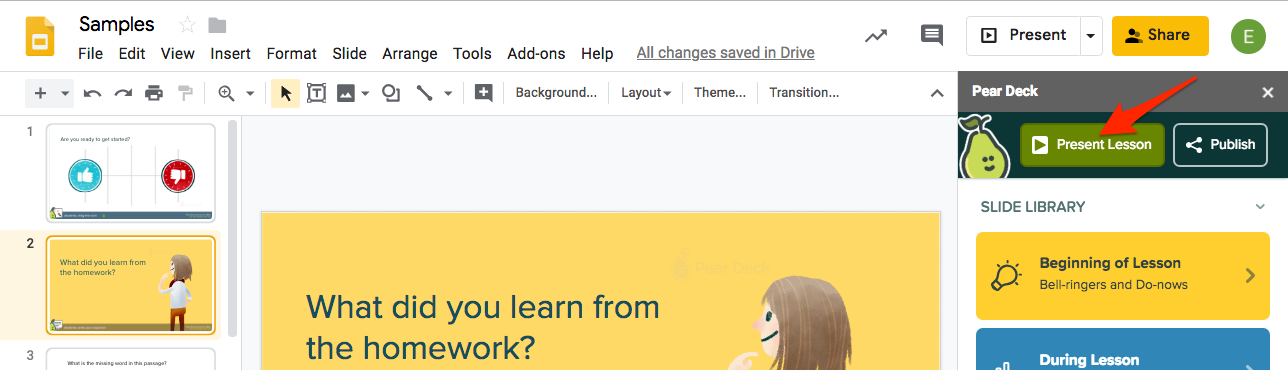
- Example in Google Slides:
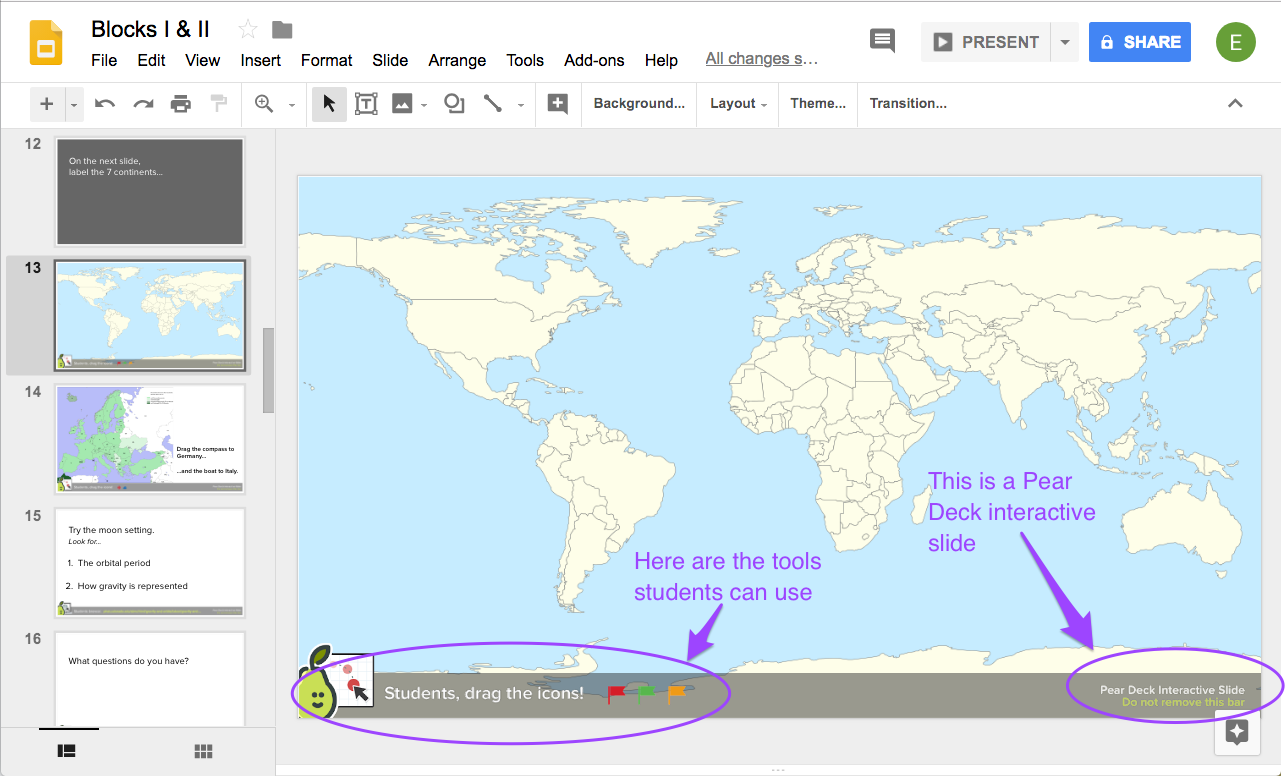
- Here's what the above slide looks like on the Student View during a presentation Session:
- Example in PowerPoint Online:
Try it out before class
There's no limit to the number of Sessions you can present with Pear Deck. You can even join your Sessions as a student to get the full preview of what students will see.
- To start a new Session, click the green Present button in either:
- The Pear Deck for PowerPoint Online Add-in
- The Pear Deck for Google Slides Add-on
- The Pear Deck for PowerPoint Online Add-in
- Then, go to joinpd.com in a separate tab and join your own Session. You can even turn on Student-Paced mode on the Projector View to navigate through all of the slides independently on the Student View.
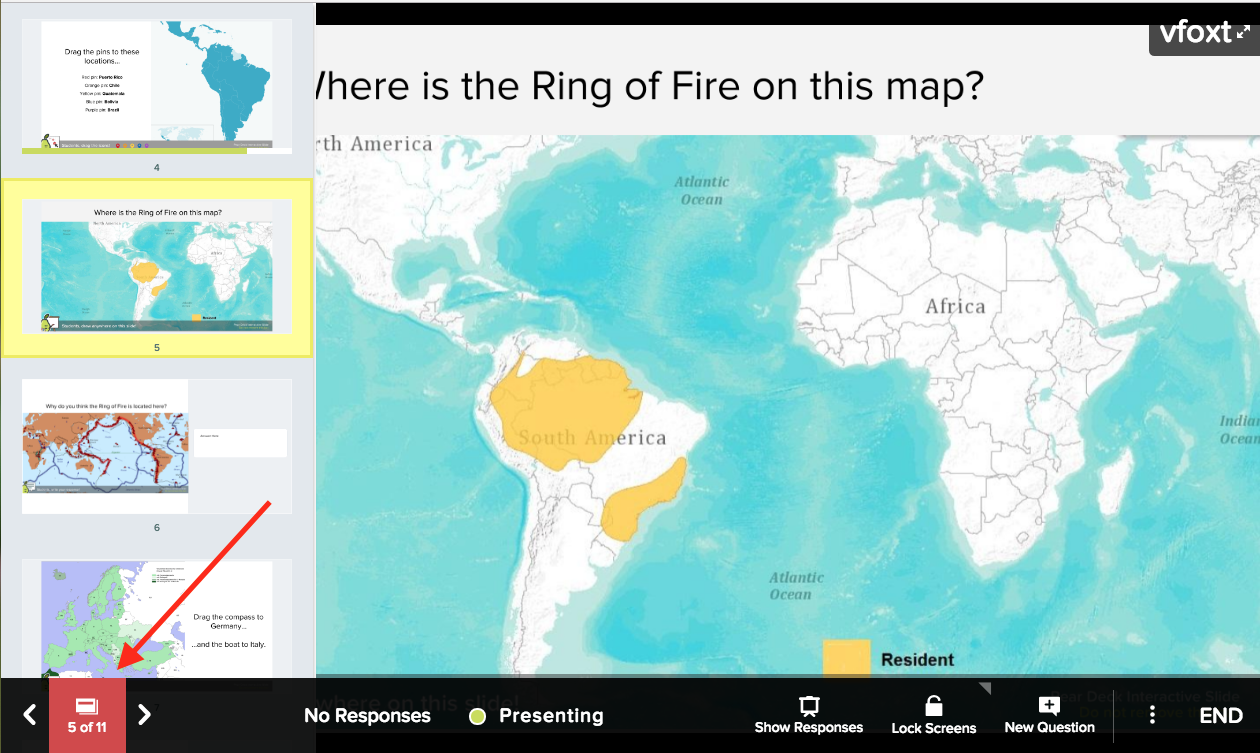
See the Student View during a presentation Session
During a presentation Session, you automatically see your slides and the Pear Deck interactive bar on the Projector View. But you can also review what students are seeing on the Student View. Just click on the Slide Navigator (between the arrow buttons) to open the Slide Drawer. The thumbnails show you exactly how the slides appear on the Student View.
Once you start presenting, try adding a New Prompt from the Navigation Bar to add a new Interactive Slide to the discussion!
For questions, please email help@peardeck.com.
Article contributors: Erin M., Michal E.L.