
Overview
Each Pear Deck Session has three Views: the Projector View, the Student View (which students enter when they join your Session), and the private Teacher Dashboard View. The Dashboard shows students' names next to their responses and helps you review and evaluate their work. With the Dashboard, you can also leave individual feedback for your students, as well as highlight responses or hide them from the Projector View. It gives you more insight into how your students are doing, during and after class! Please note that the Teacher Dashboard is a Premium Feature.
 For most teachers, we recommend requiring email login before you present your Pear Deck Sessions. It's the only way to see identifying information from students, like names and email addresses. Learn more here.
Basic Steps
How to open the Dashboard
You an open the Dashboard when you start a new presentation, from your Navigation Bar, or from your Sessions menu:
- Start a new presentation by opening the Pear Deck sidebar in Google Slides or PowerPoint Online and clicking the green Start Lesson button. Choose Instructor or Student-Paced Mode.
- If you choose Instructor-Paced, you automatically open the Projector View with Join Instructions. Click Open Teacher Dashboard. In Instructor-Paced mode, students' screens sync up with your screen on the Projector and Dashboard.
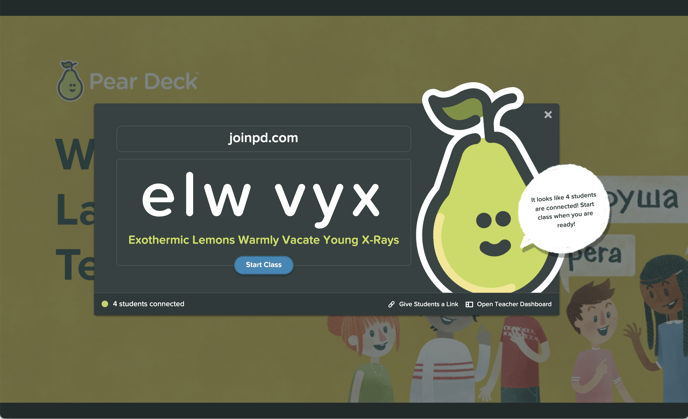
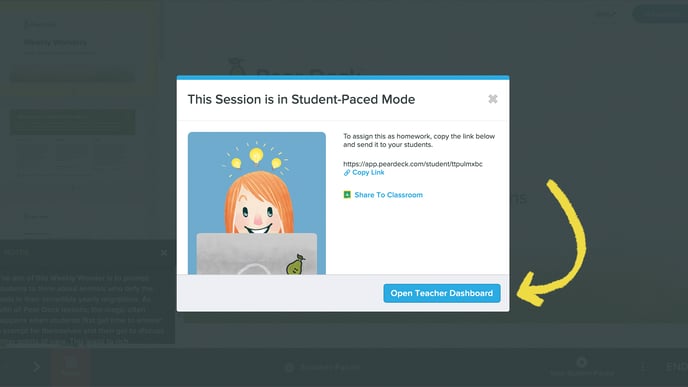
- If you choose Student-Paced Mode, the Dashboard View opens automatically and you can simply close the modal window to start viewing it.
- If you choose Instructor-Paced, you automatically open the Projector View with Join Instructions. Click Open Teacher Dashboard. In Instructor-Paced mode, students' screens sync up with your screen on the Projector and Dashboard.
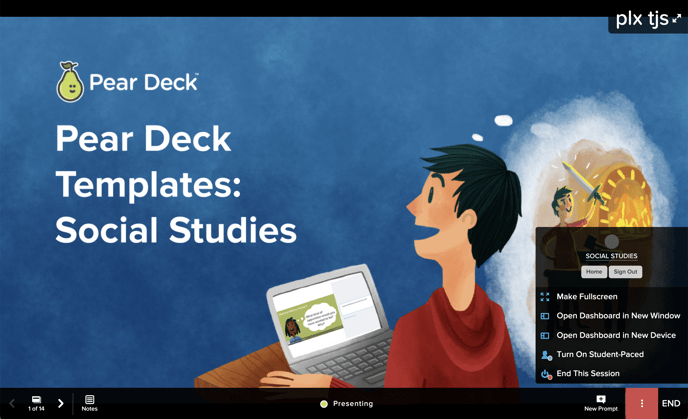
- Click on the More Actions (three-dots) Menu on the Navigation Bar on any slide.
- Open the Dashboard from your Sessions menu. This is the recommended way to review answers anytime after the Session is closed.
.png?width=688&name=Sessions%20menu%2c%20projector%20and%20dashboard%20views%20(2).png)
How to use the Teacher Dashboard
- Quick Tour

- The Slide Drawer is on the left side of the screen. The Projector preview is on the right side.
- The Navigation Bar: Use this to navigate through slides, show responses on the Projector View, lock responses on the Student View, and add a New Prompt slide to the Session. Scrolling in the Dashboard does not sync up to the Projector View so your scrolling action stays private. But you can click or tab on a response in the Dashboard, and the Projector View will highlight the response.
- Student Response Preview: As students begin responding to your question, you immediately see their responses in real time. You can scroll through the responses to see if anyone is lost or confused. You can do all of this privately without showing responses on the projector.
- Student Roster: Click on the blue roster button to see the list of who has joined your Session, invite a Google Classroom Class if you have the Classroom integration, or block someone from the Session.
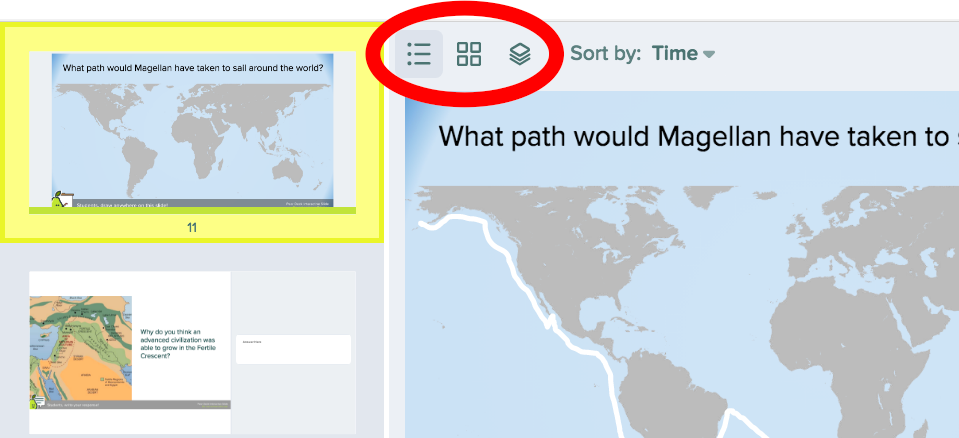
- Response Layout: The layout can be adjusted depending on the interactive response type of the slide. Click on the List layout to scroll through one answer at a time, the Grid layout to see thumbnails of the responses, and the Overlaid layout to see all responses against the same background image.
- Teacher Feedback: Leave a comment for a student by clicking on the Feedback Button. Students receive their own feedback on the Student View.
- Highlight or hide responses from the Projector View. These actions do not affect the Student View or the student experience.
- Click on the star next to a name to highlight the response on the Projector View.
You can do this to multiple responses.
...you can also Clear Stars at bottom of the screen.
- Click on the More actions (three-dots) button to remove a response from the Projector View so the class won't see it. In the Dashboard, the answer turns grey when it is hidden. There is not a way for teachers to permanently delete students' responses in Pear Deck.
.png?width=589&name=Dashboard%2c%20hide%20response%2c%20zoomed%20(2).png)
- Click on the star next to a name to highlight the response on the Projector View.
- The Slide Navigation Bar Controls

- Navigation Buttons: Use the slide arrows to move through the slides in your presentation. The Projector View syncs up.
- Notes: Open your speaker notes from Google Slides.
- Show/Hide Responses: Show or hide responses on the Projector View, where they are anonymous by default.
- Lock: Click this button once to lock students' screens so they can't make any changes.
Lock Timer: Click and hold this button to set a countdown timer so students know how long they have to finish answering. When the timer reaches zero, all student screens will lock. You can choose between 30 seconds, 1 minute, and 3 minutes. - Add a New Prompt: When you want to add an additional question to your presentation, click this button. You can re-ask the same question, even with a different interactive response type, or drop in a new pre-made interactive slide to take advantage of a teachable moment. Learn more about New Prompts.
- More Actions Menu: Go to your More Actions (3-dot) menu to do additional things like end your session or turn on Student-Paced Mode.
- END: Click this button to end the Session.
Customize the Dashboard
You can change the response layout and sort responses.
- Change the Response Layout
 Most response types have 3 layout choices: List view, Grid view, and Overlay. There are a few limitations to this (for example, text responses cannot be overlaid). Here is what the three layouts look like on a Drawing slide. These images are taken from the Projector View, so no student names are showing.
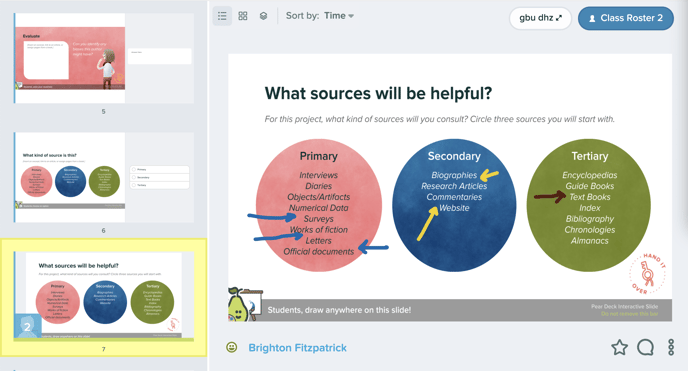
- List view
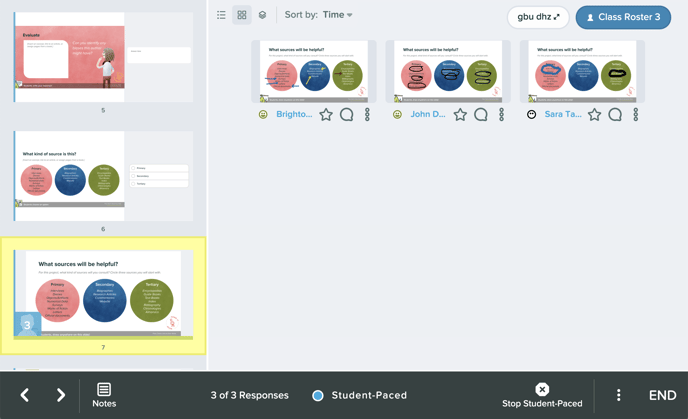
- Grid view
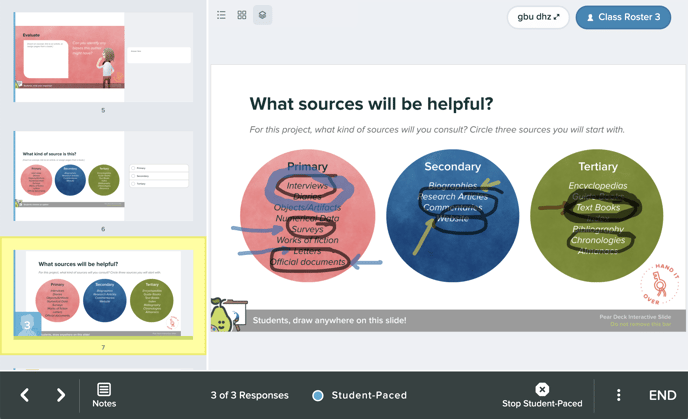
- Overlaid view
- List view
- Sort responses
 Use the Sort by filter at the top of the Dashboard to sort answers by:
- Time of response
- Student, in alphabetical order, by first name
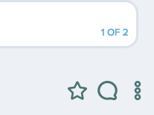
- On a Text Response question students can enter multiple answers, which is great for brainstorming or adding additional thoughts. By default, those answers will display in order of time received. But any time a student has entered multiple responses, you'll see a little indication in the corner beneath the answer. When you click on it, you jump to the other answer.
Scroll the Projector View from the Dashboard
Scrolling in the Dashboard does not sync up to the Projector View - this way, your scrolling action is private. But you can click or tab on a response in the Dashboard, and the Projector View will highlight that response.
Questions or comments? Email help@peardeck.com!
Article by Erin M.